
When trying to customize the featured image that appears on each blog post within the Post Title Module, I found that 1) there was no direct option in the Post Title module to change this, and 2) the Custom CSS option that allows you to target specific elements (the Featured Image element in this case) in the Post Title Module does not target the complete selector. In this super short and sweet how-to article, I’ll be showing your what CSS to add to your Divi Post Title Module in order to customize the featured image in Divi and what selector to apply your values. Let’s get started!
Step 1. Go to Your All Posts Build Template in Divi Builder

Go to Divi Builder, find your “All Posts” build template, and click the pencil on “Custom Body”.
Step 2. Go to Module Settings for the Post Title Module

Find the Post Title Module and select the gear icon to open the Module Settings.
Step 3. Open Custom CSS under the Advanced tab
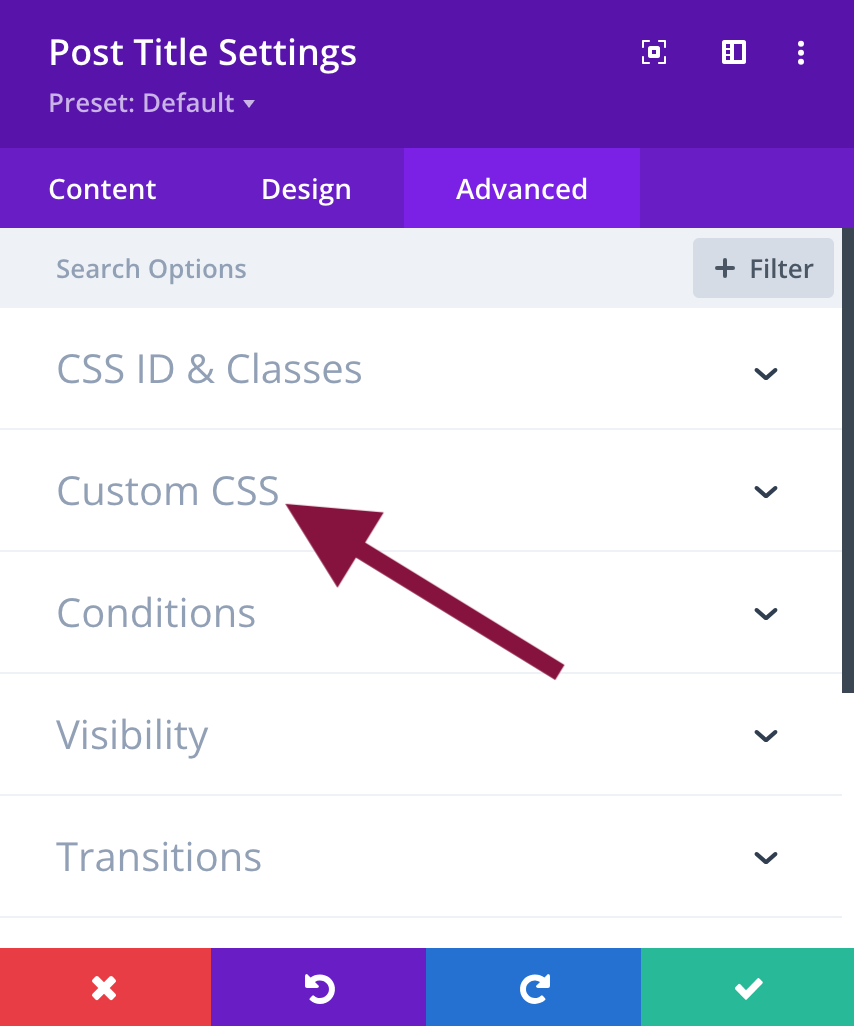
Once you are in the Module settings, select the Advanced tab and go to Custom CSS.
Step 4. Select the Free-From CSS tab
Under Custom CSS, make sure that you have selected the Free-Form CSS tab.
Step 5. Add your CSS code.
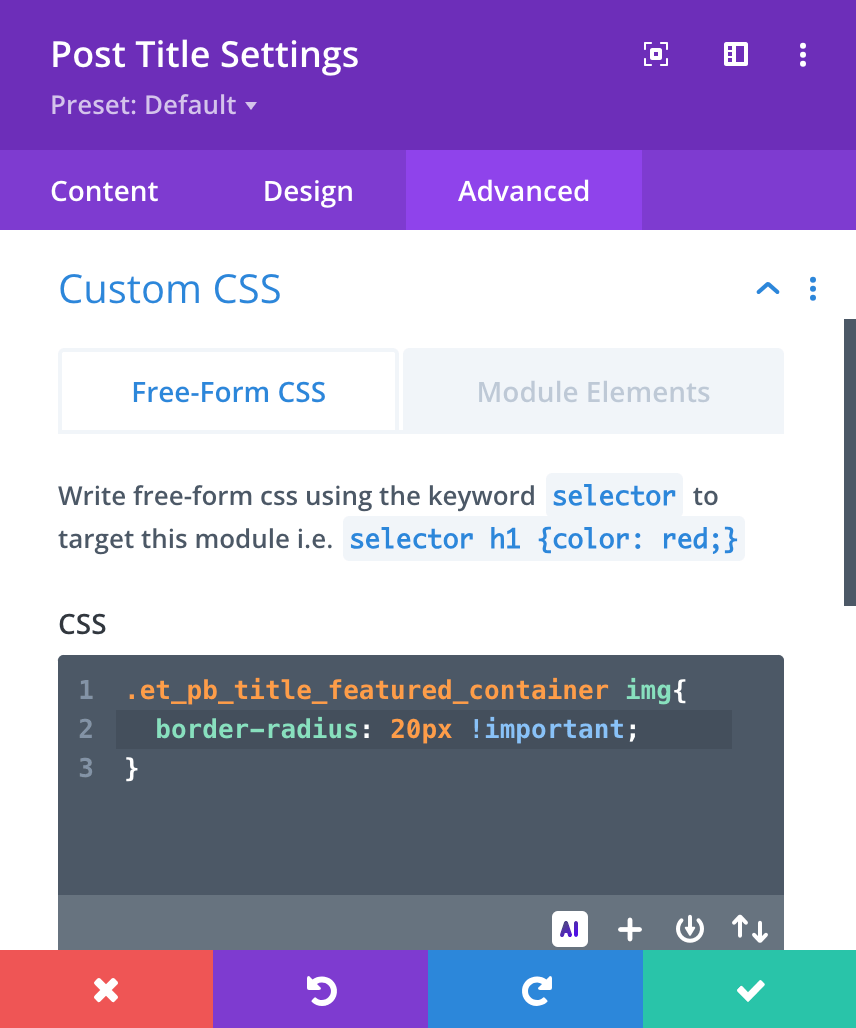
Add the following CSS code to the Free-Form CSS field, using the combinator selector along with the !important declaration following the value as follows:
.et_pb_title_featured_container img {
  border-radius: 20px !important;
}
I adjusted the border-radius property here, but of course, feel free to make changes to any property you’d like!
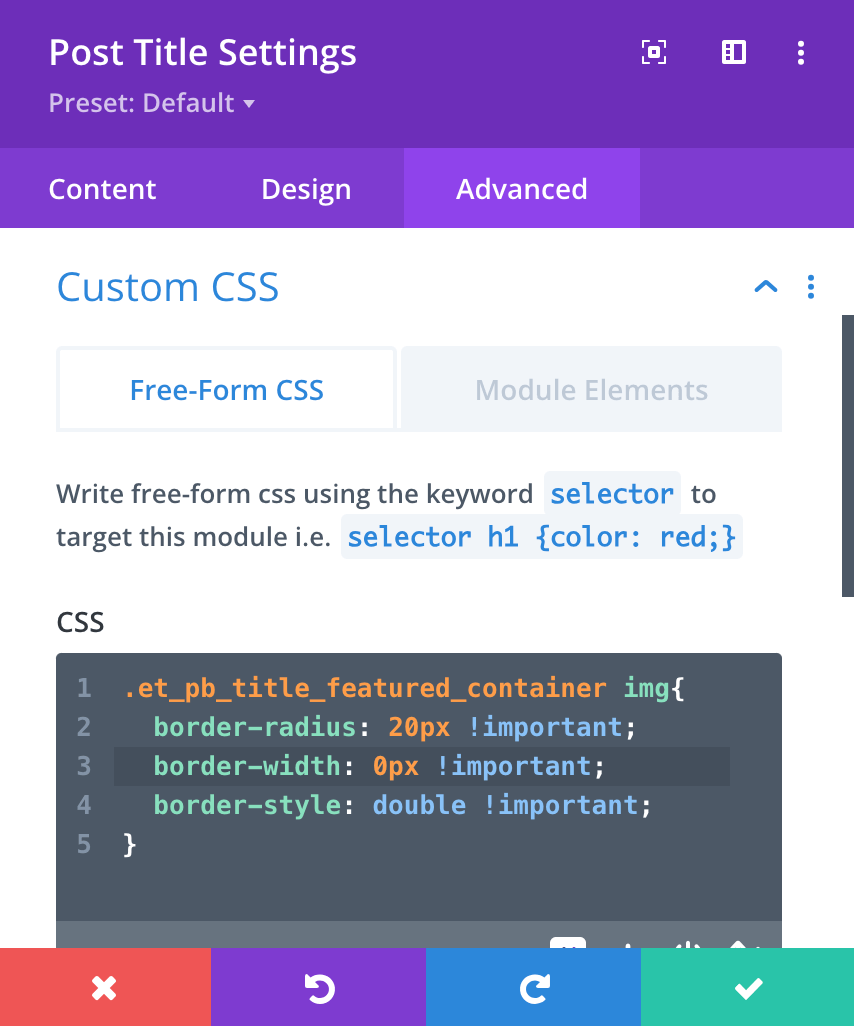
I decided to make some additional changes to the border width and style here by adding two more properties and their values.


Once you are finished adding all of the changes you’d like, click the green check mark, and make sure everything is saved. When you refresh, you’ll see your newly customized feature image on your Divi site!
Have questions or run into any issues? Comment below or reach out! Happy blogging!


0 Comments