
Lists are great for highlighting and organizing information in blog posts and pages. However, something I’ve noticed when using Divi is that the default line height for lists, both numbered and unnumbered, is too small for my liking. This was happening particularly with posts. I tried applying CSS in the “Additional CSS” section as I usually do, but nothing was budging. After playing around for a bit, I found the solution! If you’ve come across this annoying roadblock in Divi, you’re in luck. In this short tutorial, I’m going to share with you how to change the line height for Divi lists using just a little bit of CSS. Let’s get started!
Change Line Height for Divi Lists for Blog Posts: A Step-by-Step Tutorial
If you’ve used Divi Theme Builder to create post templates, you may have come across the issue of your CSS not applying as usual. This is why you are encountering the issue of not being able to apply CSS to adjust the line height per usual. It turns out, you will need to target the items in the theme template that you built for changes to apply. Here are the detailed steps for how to do this with both ordered (ol) and unordered (li) lists.
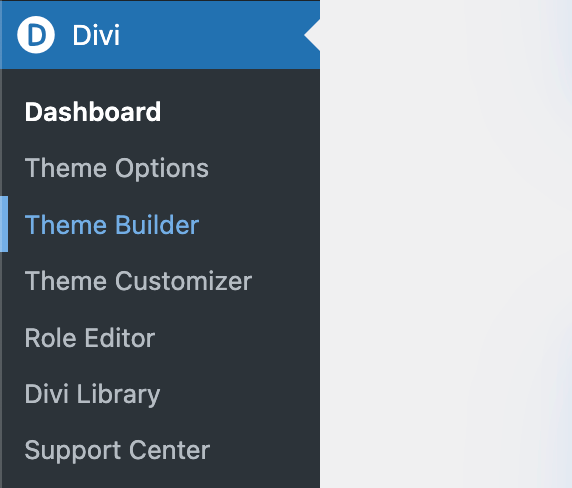
Step 1: Go to the Divi Theme Builder and Click “Custom Body” in the “All Posts” template
In the Theme Builder of Divi, you will have previously created a template for all your blog posts. In order to target the elements in the posts associated with this template, you’ll need to navigate to the Divi >> Theme Builder >> Custom Body.
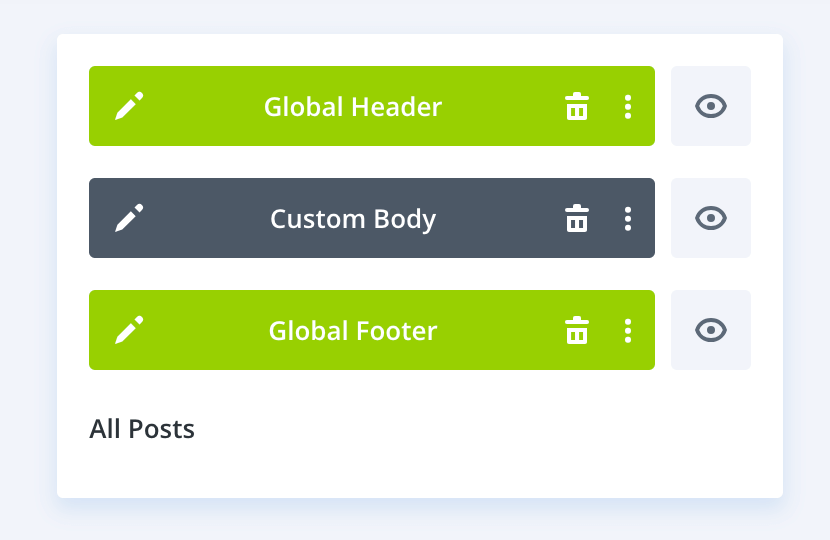
Step 2: Open the Post Content Module
You’ll want to find the Post Content module on the template. This will have examples of what your posts will look like, including headings, paragraphs, quotes, and lists.
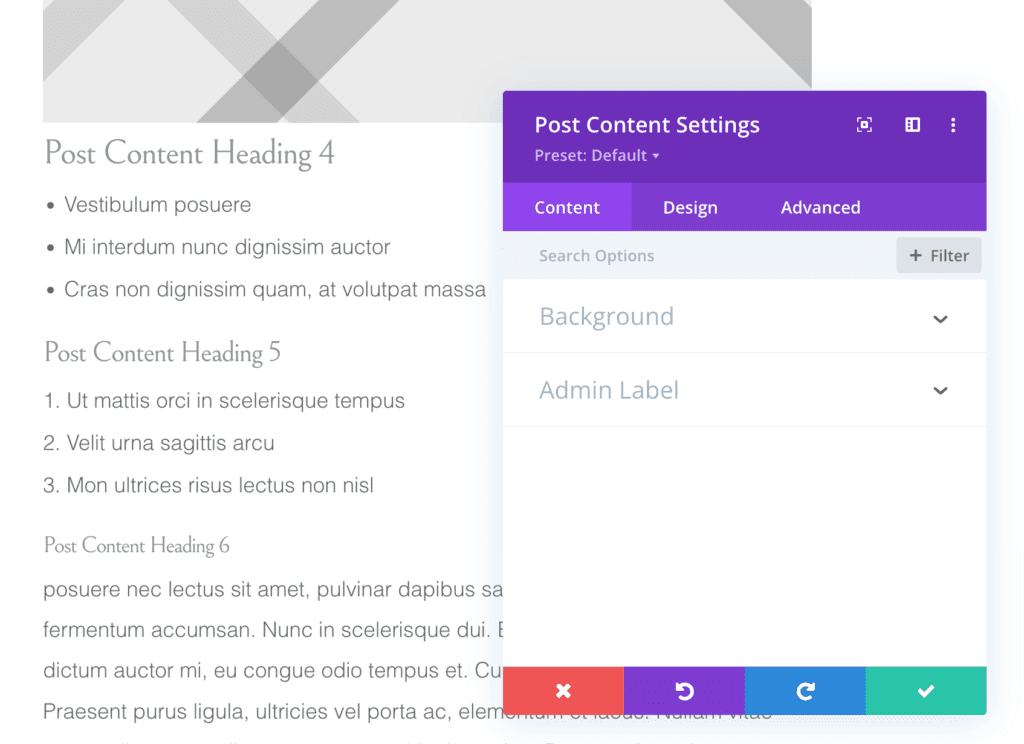
Step 3: Select “Advanced” in the Post Content Settings module
When you open the Post Content Settings, you will see 3 tabs at the top—Content, Design, and Advanced. You will want to select the “Advanced” tab.
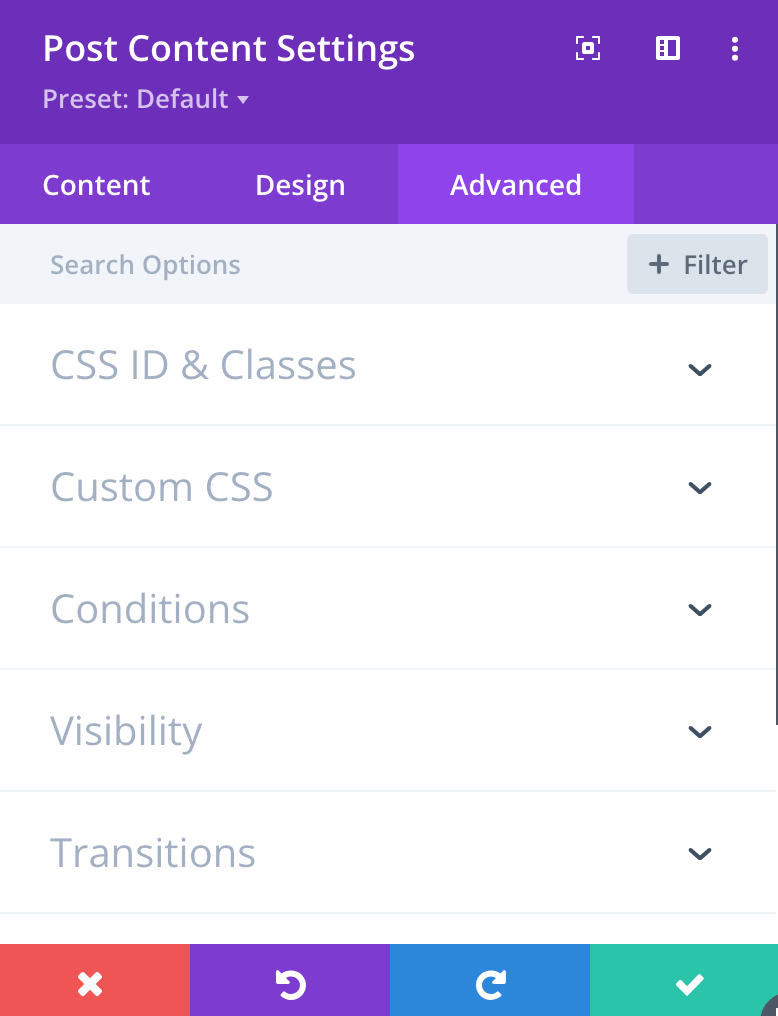
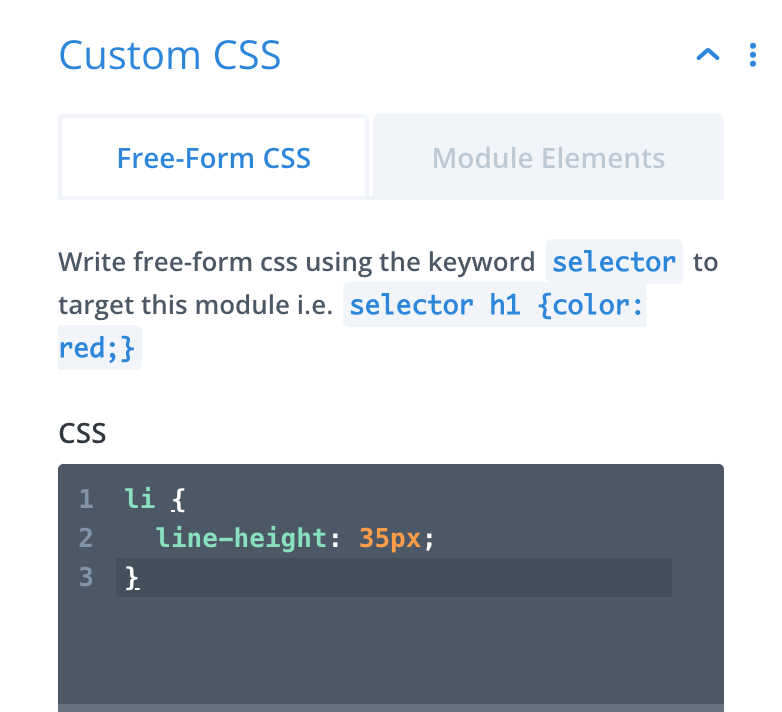
Step 4: Select “Custom CSS”
In the Advanced tab, you will want to Custom CSS. Make sure you are in the “Free-Form CSS” tab.
Step 5: Add your CSS to the “CSS” field.
You will want to add this code to your CSS field. You can use any pixel size you want. I picked 35px because I liked that spacing best, but choose what works best for your list!
li {
   line-height: 35px;
}
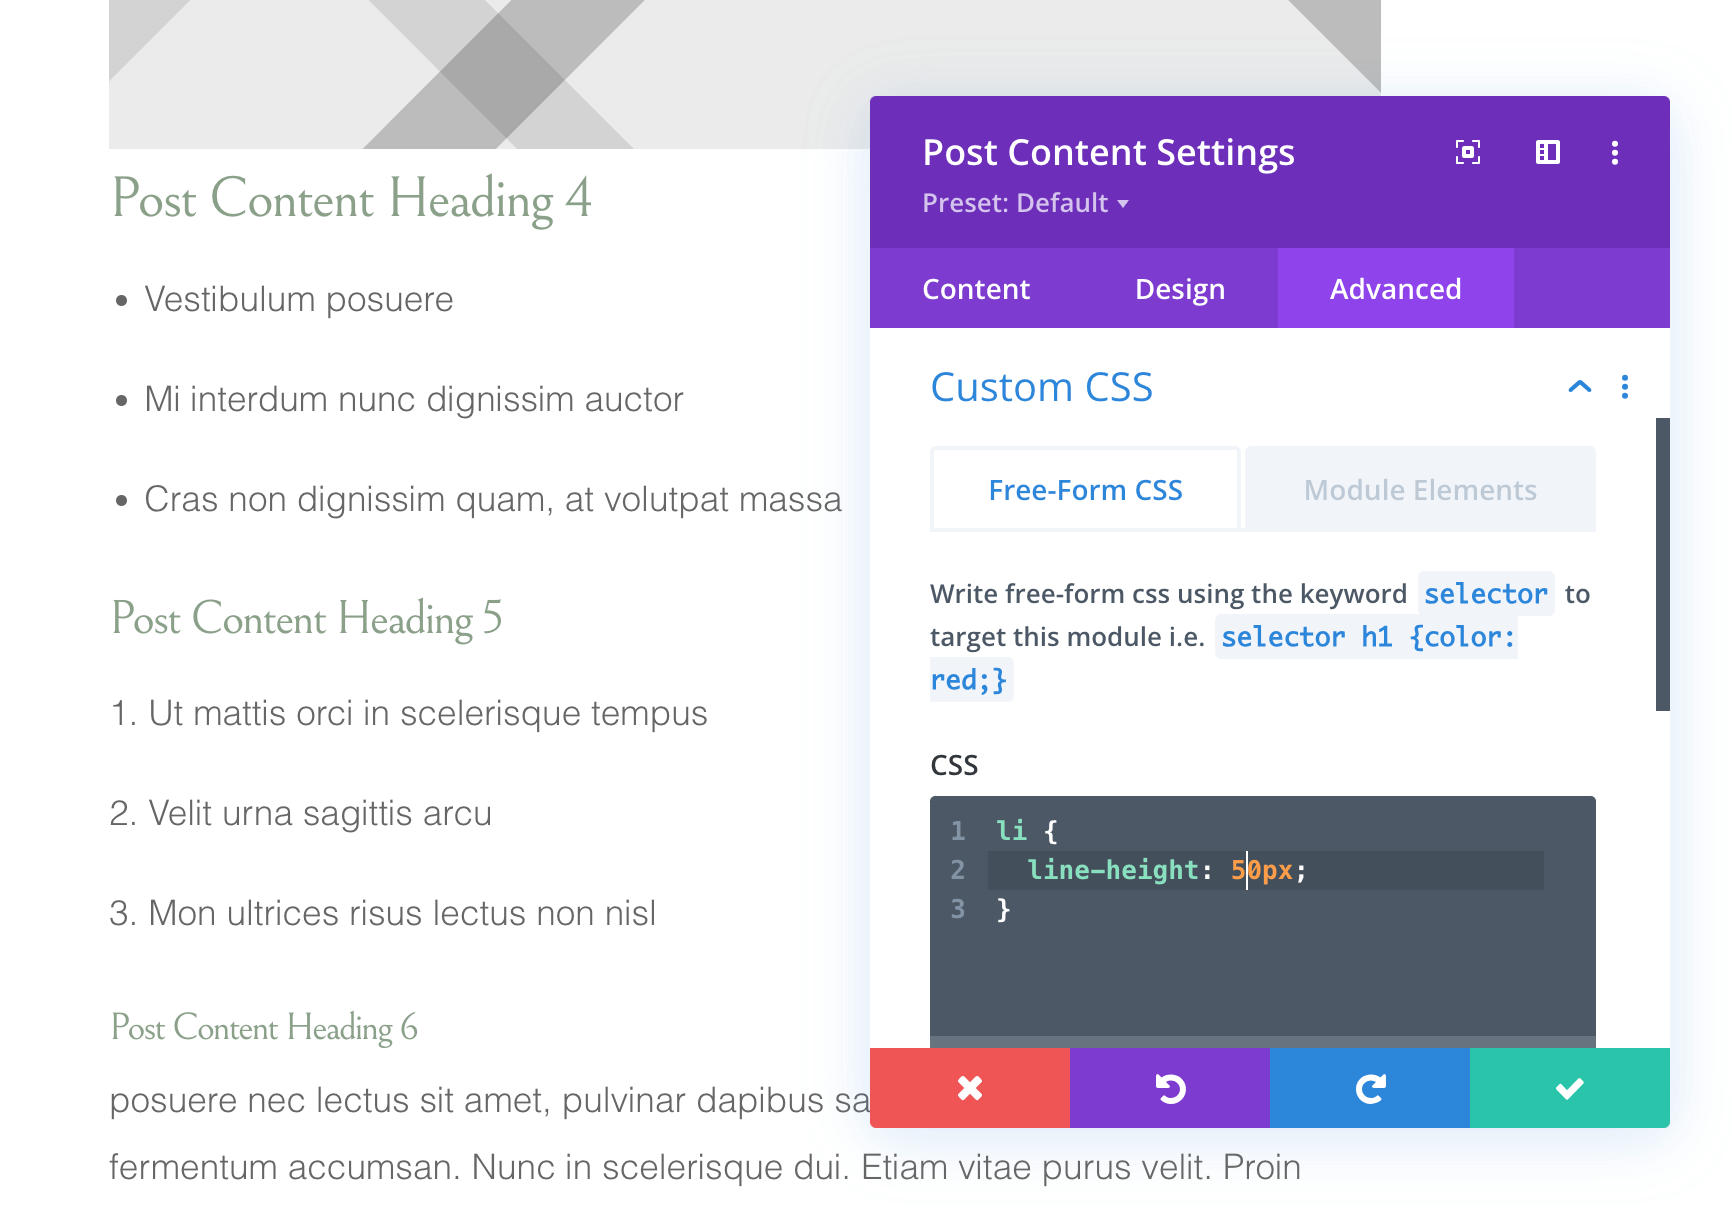
Step 5: Adjust the pixels to your liking and change the line height for your Divi list
As mentioned above, you can feel free to change the line height to something aside from 35px. You can use the Divi visual builder in the background to see how each size looks. Here are some pictures to show you how different heights can look:


Help Beyond Changing Line Height for Divi Lists
I hope this step-by-step tutorial has helped make it easy for you to change the line height of your Divi WordPress posts! However, if you find you still need help figuring this out or would rather outsource website updates such as this, Desert Rose Design & Photo Co. can help. Use the Desert Rose contact form to describe what you are needing help with on your website, and let’s work together to get your website how you want it!


0 Comments